

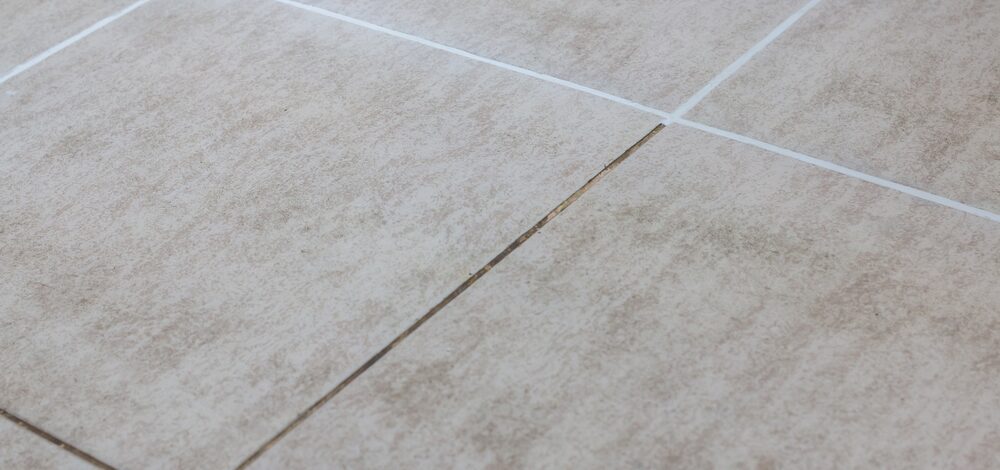
Can Tiles Get Damaged at From Cleaning Grout?
Homeowners consistently ask an important question during routine kitchen and bathroom maintenance: Can tiles get damaged at all from cleaning grout?
Improper techniques, overly aggressive tools, and harsh chemicals can permanently harm your flooring and wall installations. While the tile itself is often quite durable, its protective glazes, polished finishes, and underlying structures are highly susceptible to microscopic abrasions and chemical reactions that dull and degrade them over time. Understanding the relationship between the cementitious joint material (grout) and the surrounding tile is essential for a successful home maintenance routine.
The Material Matters: Ceramic vs. Natural Stone
The material composing your floors determines exactly how much punishment they can take during a cleaning session.
- Ceramic and Porcelain: These materials generally resist scratches better than softer stones because of the high-temperature firing process (vitrification) used during manufacturing. This process creates a glass-like, non-porous surface. However, even durable ceramics suffer when exposed to incorrect chemical formulas that eat away at silica-based glazes.
- Natural Stone: Materials like marble, limestone, slate, and travertine are highly sensitive. They are particularly vulnerable to chemical etching, a permanent chemical reaction that leaves dull, white spots on polished surfaces.
Many homeowners mistakenly grab the strongest acid-based chemical available for dirty grout, thinking more power equates to a faster clean. On natural stone, even a mild vinegar-and-water solution can cause immediate, irreparable damage. Furthermore, strong acids eat away at the protective sealants applied to your grout, leaving the porous joints wide open to moisture, mold, and deep-set dirt.
If your natural stone or ceramic surfaces have already suffered from improper cleaning or deep staining, the team at JMS Carpet Care can help. Our specialized, surface-safe equipment is designed to lift years of grime without risking structural or aesthetic damage. For local homeowners looking to restore their floors safely, scheduling professional tile and grout cleaning in Bucks County is the most dependable way to reverse dullness and protect your investment.
How to Safely Remove Grout Haze
After a fresh tile installation, you might notice a cloudy film covering your beautiful new floors. This residue, known as grout haze, forms as the joint filler dries and cures on the tile’s surface.
Because grout contains tiny particles of sand and cement, attempting to rub it off with dry cloths or abrasive pads is like rubbing sandpaper directly against your brand-new tile finish. Construction professionals recommend waiting at least 48 hours to let the joints reach a semi-cured state before tackling this residue.
Here is the safest step-by-step method to remove grout haze without scratching your tiles:
- Prepare your liquid mixture: Combine a mild, pH-neutral detergent in a clean plastic bucket with lukewarm water. Avoid abrasive scrubbing powders or bleach-based products that can weaken the curing grout.
- Apply the liquid carefully: Mist the affected area lightly using a spray bottle. This provides excellent control and prevents over-saturating the fresh grout joints. Let the liquid sit for 3 to 5 minutes to break down the haze’s chemical bonds.
- Agitate with proper tools: Scrub the tile surface gently using a soft nylon brush or a plush microfiber cloth. Never use steel wool, metallic scouring pads, or stiff wire brushes.
- Wipe and dry: Wipe up the slurry with a clean, damp microfiber mop, rinsing your mop head frequently in clean water to prevent spreading the haze particles back onto the tile.
Best Practices for Routine Maintenance
Maintaining a pristine floor requires consistency and the proper equipment to avoid the buildup of abrasive grit. When performing your weekly chores, keep these guidelines in mind:
- Start with Warm Water: Always start with basic warm water to see if mild mechanical action alone can dissolve everyday dirt and oils.
- Ditch the Dirty Mop: Traditional mops often suspend dirt in dirty water and redistribute it right into the lower, porous grout joints. Over time, this water evaporates, leaving behind a dark, compacted line of grime.
- The Two-Bucket System: Use one bucket for your mild, pH-neutral soapy water and a second bucket of clean water for rinsing your mop.
- Use Microfiber: Microfiber mops are highly efficient at trapping dirt particles rather than pushing them around.
For homeowners managing expansive tile layouts, keeping up with these rigorous steps can feel like a second job. If you want to skip the hassle and achieve a truly deep clean, booking professional tile cleaning on the Main Line makes sure your stone or ceramic surfaces receive gentle, high-extraction treatment using industry-grade, truck-mounted cleaning systems.
Strategies to Prevent Mold and Remove Stains
Bathrooms and damp entryways present unique maintenance challenges due to constant moisture, high humidity, and poor ventilation.
Active Humidity Management
To prevent mold from establishing a foothold in your grout lines, you must control indoor humidity. Run a bathroom exhaust fan during and for at least 20 minutes after showers. Keeping the air moving stops moisture from settling into porous surfaces.
Targeted Stain Removal
If organic stains or mildew appear, avoid using straight chlorine bleach, which can weaken cementitious grout over time. Instead, apply a targeted hydrogen peroxide mixture (3% concentration) directly to the stains. Let the oxygenating liquid bubble for 10 minutes to lift the organic discoloration, then wipe it away with a damp microfiber cloth.
For stubborn mineral deposits (white, crusty scale from hard water), use a mild citric acid solution or a dedicated mineral solvent rather than aggressive scraping tools, which can easily chip the delicate edges of your tiles.
Understanding Sealants and Professional Restoration
Many property owners wonder if they can scrub their floors vigorously once a protective sealant has been applied.
Grout sealers are defensive barriers, but they are not indestructible. Aggressive scrub brushes and harsh chemical cleaners will strip the sealant away, leaving the porous grout entirely unprotected against moisture and deep staining.
| Cleaning Factor | Safe DIY Approach | Unsafe DIY Approach | Professional Approach (JMS) |
| Chemicals | pH-neutral cleaners, Hydrogen peroxide | Ammonia, bleach, heavy acids | Specialized, eco-friendly emulsifiers |
| Tools | Soft nylon brushes, microfiber | Steel wool, metal wire brushes | Controlled pressure tile-spinning tools |
| Grout Sealant | Gentle topical sealers | Stripping sealers with acid | Premium, deep-penetrating impregnating sealers |
When DIY methods fail to lift deep-seated stains, or if your grout has begun to crumble, it is time to seek professional intervention.
Why Choose JMS Carpet Care?
At JMS Carpet Care, our technicians are fully trained to assess your specific tile and grout conditions. We utilize advanced high-pressure extraction tools that safely flush out embedded soil and bacteria without harming the surrounding tile edges or washing away your grout. Following a deep clean, we can apply a high-quality, long-lasting impregnating sealant that protects your grout from future spills and makes weekly mopping incredibly easy.
Ready to Restore Your Tile and Grout?
Don’t let aggressive scrubbing or incorrect chemicals ruin the beauty and value of your home’s tile surfaces. Whether you need a routine seasonal deep clean or professional restoration for delicate natural stone, the experts at JMS Carpet Care are here to deliver exceptional, damage-free results.
Contact JMS Carpet Care today to request a free estimate and give your floors the specialized care they deserve!